
That sudden clank from your air handler feels like a warning bell, and the house is already sweating like a sauna.
Before you dial the next‑door tech, you’ll want to know the three things most homeowners miss – the cheap fixes that work, the red‑flags that signal a bigger problem, and the questions that keep the bill from blowing up.
Getting this info now saves you time, stops you from throwing money at a symptom, and puts you in the driver’s seat when the pros finally arrive.
Ready to stop guessing and start fixing? Let’s walk through the exact steps you should take before you pick up the phone.
Quick Symptom Checklist: What to Inspect Before the Call
Before you pick up the phone, give your system a once‑over. A few minutes of observation can tell you whether the problem is a simple tweak or a warning sign that needs a pro. Look for anything out of the ordinary—noises, smells, or temperature swings—and jot it down.
What to Listen For
- Rattling or clanking from the air handler or furnace.
- Humming that fades after a few seconds, indicating a motor may be struggling.
- Intermittent clicking when the thermostat cycles on and off.
These sounds are cheap clues. If they appear only when the unit starts, a loose panel or a worn belt could be the culprit. If they persist, you’re likely staring at a component that’s on its last legs.
What to Look At
- Check the air filter. A clogged filter reduces airflow and can make the system work harder.
- Inspect the outdoor condenser for debris, bent fins, or obvious damage.
- Verify that all vent registers are open and unobstructed.
When these basics are in order, you’ve ruled out the low‑hang‑over fixes and can speak to the technician with confidence. If anything looks off, note the detail—date, description, and any patterns you notice. That info will save you time and keep the bill from ballooning.
DIY Fixes That Actually Work: Low‑Cost Solutions for Common Issues
First thing’s first – turn off the power and give your unit a quick visual once-over. A clogged air filter is the most common culprit; replace it with a new one and you’ll often feel a noticeable boost in airflow within minutes. If the thermostat is acting up, pull the cover, replace the batteries, and make sure it’s set to “auto” instead of “on.”
Simple fixes you can do today
These tricks cost pennies but can save you a callout fee.
- Clear the condensate drain line – a cup of distilled vinegar poured down the line every few months prevents algae buildup.
- Check the outdoor unit’s fan blades for debris; a garden hose on a gentle setting removes leaves and dirt without damaging the fins.
- Seal any obvious air leaks around vents with foil tape; it’s cheap and keeps conditioned air where it belongs.
When a quick fix won’t cut it
If you’ve tried the basics and the system still sputters, it’s time to look a little deeper.
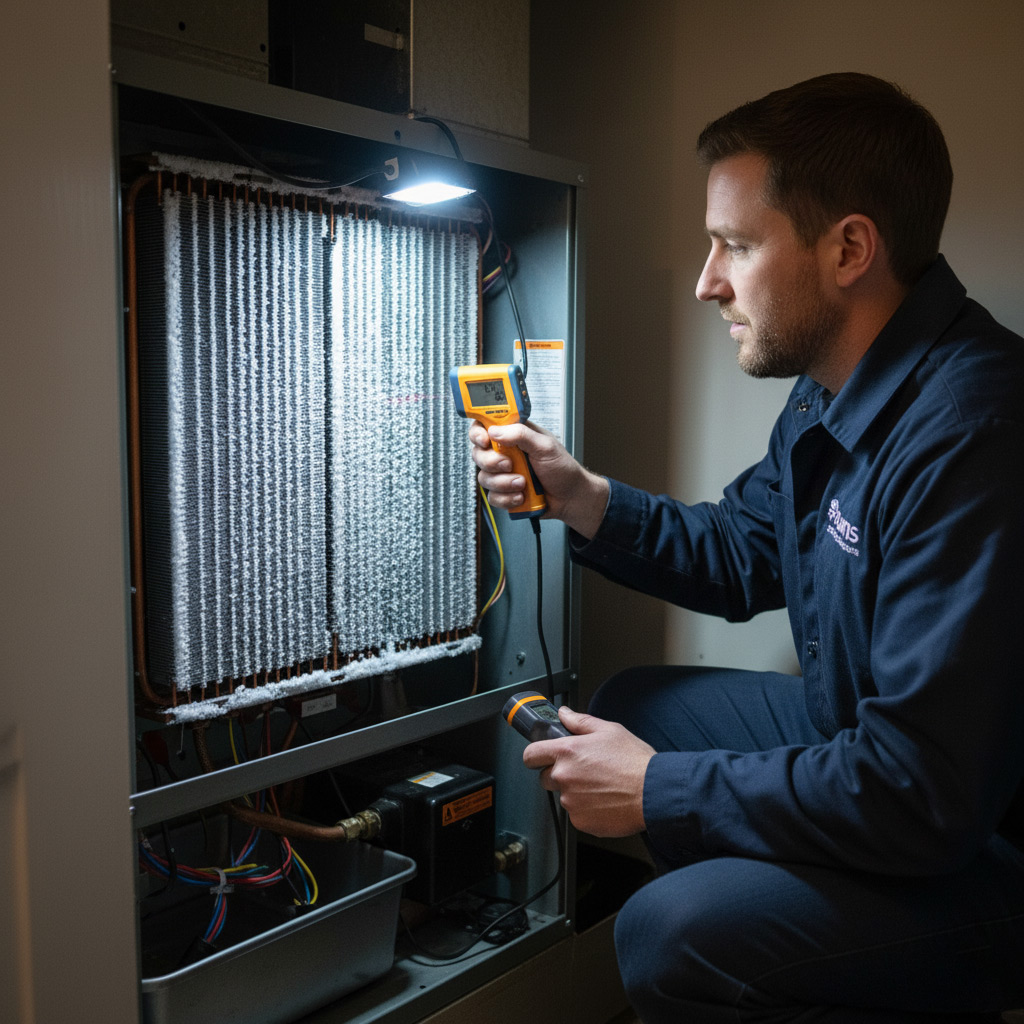
- Inspect the refrigerant lines for ice; a frozen coil usually means a dirty filter or low refrigerant – both need a pro’s touch.
- Listen for rattling or buzzing noises from the blower motor; a loose belt or worn bearing can be tightened or replaced with a modest DIY kit.
- Verify the circuit breaker hasn’t tripped; resetting it is a one‑minute job that many homeowners overlook.

Red‑Flag Indicators: Signs Your HVAC Needs Professional Attention
When the thermostat screams “freeze!” but the house stays warm, it’s more than a minor hiccup. Ignore it and you’re courting a costly breakdown. A quick visual scan can tell you if the problem is DIY‑able or if you need a pro on speed‑dial.
What to Look For
- Foul odors – burning, musty, or chemical smells mean something’s wrong inside the unit.
- Frequent short‑cycling – the system turns on and off every few minutes, a sign of refrigerant or airflow trouble.
- Ice buildup on coils – frost forming quickly points to low refrigerant or a clogged filter.
- Unusual noises – rattling, squealing, or grinding aren’t just annoyances; they’re warning bells.
- Water leaks – puddles around the indoor unit suggest a drainage issue or a cracked condensate line.
If any of these show up, stop the DIY experiment. Calling a certified technician now saves you from a $1,200 emergency repair later. Let the pros diagnose, you’ll keep your comfort and your wallet happy.
Gathering Crucial System Data: Model Numbers, Maintenance History, and More
Why the Numbers Matter
When the tech arrives, the first thing they’ll ask for is the model and serial numbers. Those digits tell the pros which parts fit, which firmware applies, and whether a recall is lurking.
Having that info on hand cuts the guess‑work, speeds up the diagnosis, and keeps the invoice from ballooning with “research fees.”
Where to Dig Up the Info
Most units wear their ID on a metal plate inside the cabinet, on the outdoor condenser, or tucked behind the access panel. Look for a label that reads “Model,” “Serial,” or “CAP.”
- Indoor air handler: Open the front grille, locate the metal tag on the side.
- Outdoor condensing unit: Check the side or back panel; it’s usually a weather‑proof sticker.
- Thermostat: Some smart thermostats display the system type in the settings menu.
Pull out any old service receipts, warranty cards, or a handwritten log you might have kept. Those papers often list the date of the last filter change, coil cleaning, or refrigerant top‑off.
Your One‑Page Cheat Sheet
Before you call, jot down a quick sheet that the technician can glance at. Keep it simple:
- Unit make & model: e.g., Carrier 24ACC6.
- Serial number: the long string of letters and numbers.
- Installation date: approximate year if you don’t have the exact day.
- Last service: date, what was done, who did it.
- Known issues: rattling fan, weak airflow, odd smells.
Slip that sheet under the thermostat or hand it to the tech when they arrive. It’s a tiny step that saves everyone time and money.

Smart Questions to Ask Your HVAC Technician to Prevent Unexpected Charges
Before the tech rolls up his sleeves, get crystal‑clear on what’s on the table. A quick Q&A can stop surprise line‑items from sneaking onto the invoice.
What’s the exact scope of work?
Ask them to spell out every step they’ll take. “Can you walk me through the repair plan?” forces a detailed answer, not a vague “we’ll fix it.”
- Will any parts be swapped out, or is it a simple cleaning?
- Do you anticipate needing additional components later?
- How long will the job take from start to finish?
How will the cost break down?
Don’t let a single figure hide the details. Request a line‑item estimate so you see labor versus parts.
- What’s the hourly rate for the technician?
- Are there any service fees or travel charges?
- Do you offer a price lock if the repair runs longer than expected?
What about warranties and follow‑up?
Knowing the protection you get saves headaches later. “What does the warranty cover, and for how long?” is a must‑ask.
- Is there a guarantee on parts and labor?
- Do you provide a free check‑up after the repair?
- How do you handle any issues that pop up within the warranty period?
Case Study: How a Homeowner in Overland Park Avoided a $1,200 Repair by Spotting Early Warning Signs
The Situation
When Mark noticed a faint buzzing from his furnace on a chilly November night, he could have called a tech right away. Instead, he paused, grabbed his phone, and ran through his quick‑symptom checklist.
He remembered the thermostat was lagging a few degrees, and the air filter looked darker than usual. Those clues hinted at a clogged filter, not a busted heat exchanger.
The Warning Signs He Caught
- Reduced airflow – rooms felt cooler despite the thermostat being set higher.
- Unusual noises – a high‑pitched whine that grew louder when the blower kicked on.
- Higher energy bills – a 12% jump in the month before the issue surfaced.
What He Did Next
Mark swapped the old filter for a new high‑efficiency one and cleaned the blower fan blades with a soft brush. He also reset the thermostat and watched the system run for 30 minutes.
Within minutes, the buzzing faded, and the house warmed evenly. He logged the filter model, the date of replacement, and the brief fix in a notebook for future reference.
The Payoff
When the HVAC company arrived a week later for a routine service, the technician confirmed the system was operating normally. He noted that the clogged filter had been the root cause and that a full heat‑exchanger replacement – a $1,200 job – was unnecessary.
Mark walked away with a clean bill of health for his furnace and a lesson: a few minutes of inspection can save a thousand dollars.
Final Words
Think of your HVAC system like a car—you wouldn’t wait for the engine to seize before you call a mechanic. Spotting the warning signs early saves you from a nasty surprise when the summer heat hits Overland Park.
Three Quick Moves to Keep Your System Happy
- Check and replace the air filter every 30‑45 days.
- Listen for rattles or hissing noises; note the time they start.
- Record the thermostat settings and any error codes before the tech arrives.
When you’re ready to bring in the pros, have that data on hand and ask the right questions. It keeps the estimate clear and the repair fair. Need a trusted partner? Browse our HVAC Repair page and see why Overland Park homeowners keep coming back.
People Also Ask
What should I check on my HVAC system before calling a technician?
Inspect the thermostat settings, replace or clean the air filter, and listen for unusual noises. Also verify that all vents are open and unobstructed and check for visible signs of water leaks or frost on the coils.Can I safely perform DIY repairs on my HVAC unit?
Yes, simple tasks like cleaning the condensate drain, tightening loose wires, and resetting the circuit breaker are safe. Avoid opening sealed components or handling refrigerant, which require a licensed professional.When does an HVAC issue become a red‑flag that needs professional service?
If the system won’t turn on, blows warm air in cooling mode, or produces a strong burning smell, call a technician immediately. Persistent short‑cycling, high energy bills, or water pooling around the unit are also warning signs.What information should I have ready for the HVAC technician?
Gather the make, model, and serial number of the unit, a brief maintenance history, and any error codes displayed. Knowing the age of the system and recent repairs helps the technician diagnose faster.How can I avoid surprise charges when a technician arrives?
Ask for an upfront estimate, clarify whether labor, parts, or service fees are included, and request a written quote before work begins. Inquire about warranty coverage and any potential additional costs for parts not covered.Overland Park HVAC brings over 15 years of residential and commercial climate‑control expertise to the Overland Park community. Their certified technicians specialize in efficient heating, cooling, and indoor‑air‑quality solutions tailored to local needs. Committed to responsive service, they keep homes and businesses comfortable year‑round.
Need HVAC?
Quick, reliable solutions that get your home or business back on track in Overland Park, KS (66061, 66062, 66063) and neighboring ZIPs. Our team delivers results within hours, minimizing downtime and hassle.
Get HVAC Estimate